Your First 72 Hours in Thailand: The Essential Arrival Checklist for Expats
Moving to Thailand? Discover what to do during your first 72 hours, including immigration, airport transfers, SIM cards, money and settling in.

Plan your next step
Free tools, no sign-up needed.
- Moving guidesPlan arrival, banking, healthcare and settling in.
- Living Essentials & local servicesSource-checked practical services in Bangkok.
- Bangkok neighbourhoodsExplore areas, transport and everyday life.
- Cost of living calculatorMonthly costs for your household in six Thai locations.
Want the checklists, templates and city guides in one pack? See the relocation toolkit.
Arriving in Thailand to begin a new chapter is exciting, but the first few days can feel overwhelming. Between navigating immigration, arranging transport, getting connected and finding your feet in a new neighbourhood, there’s plenty to organise.
This guide walks Australians, Americans and other new arrivals through their first 72 hours, with Bangkok as the main example. You don’t need to solve everything immediately: focus on a safe arrival, a working phone and a comfortable place to sleep, then build from there.
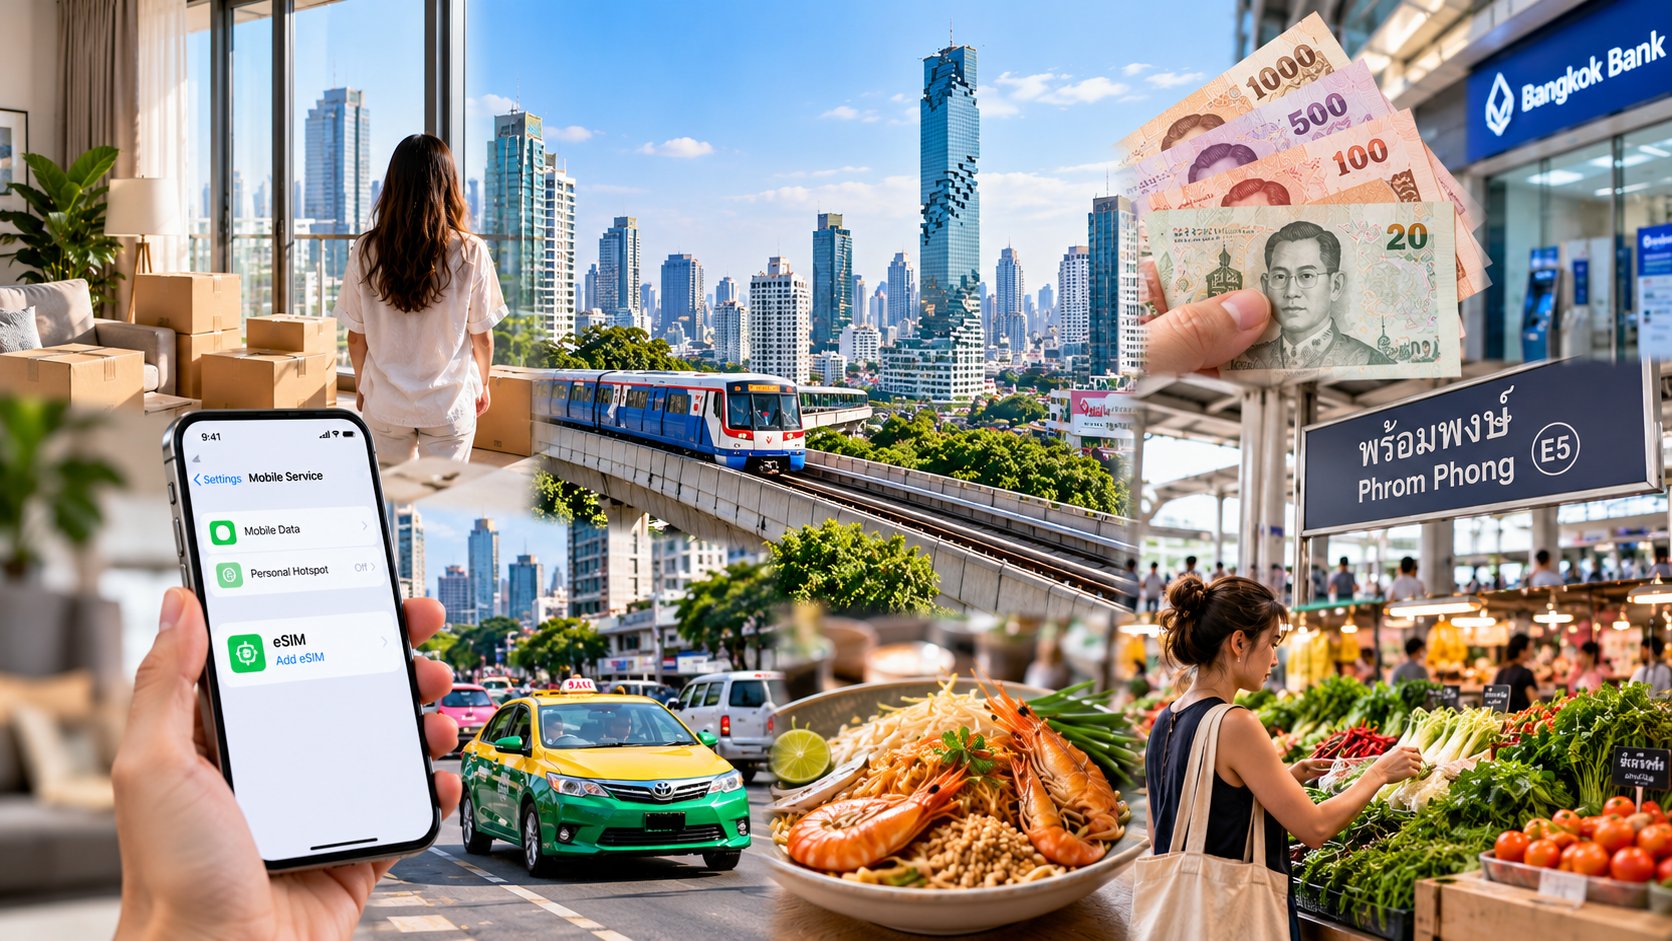
The airport arrival and transport images are AI-generated editorial illustrations, not documentary photographs of particular travellers or trains.
Before You Fly — Complete Your Arrival Requirements
Use the official, free TDAC website
Check the Thailand Digital Arrival Card (TDAC) before departure. The official guidance instructs foreign nationals entering Thailand to submit their arrival information within three days before arrival. Use the official website: submission is free, and you don’t need to pay a third party.
Check the official TDAC manual and exceptions for your circumstances. Airside transit without passing immigration is different from entering Thailand. Save the confirmation somewhere accessible without mobile data, and double-check your passport number, flight and accommodation details.
TDAC is not a visa or a guarantee of entry. Separately confirm your nationality’s current visa or entry conditions with the Thailand Immigration Bureau and Thailand E-Visa. Don’t assume a friend’s permitted stay or right to work applies to you.
Keep your arrival documents within reach
Prepare your passport, visa or approval documents where applicable, accommodation address, booking confirmation and any evidence required for your entry category. Keep secure digital copies separately from the originals. Carry prescriptions and check rules for any medicines before packing them.
Australians should review Smartraveller’s Thailand advice; Americans can use the US Embassy Thailand and relevant official travel advice. Recheck requirements near departure, not just when booking flights.
Day 1 — Arrive and Get Connected
Clear immigration and check your permitted stay
Have your documents ready and answer questions accurately. After processing, check your entry record or passport stamp, particularly the permitted-until date. If anything appears wrong, ask an immigration officer before leaving the area. Keep a secure copy; your visa’s validity and the stay granted on entry are not necessarily the same thing.
Collect your luggage, follow customs instructions and avoid accepting unsolicited transport offers. ### Choose your airport transfer
Check the airport code on your ticket. Suvarnabhumi (BKK) and Don Mueang (DMK) are different airports, with different transport connections. Our Bangkok’s two airports guide explains the distinction.
At BKK, consider the Airport Rail Link if its operating hours, your luggage and the final connection suit your arrival. At DMK, check official airport information for buses, metered taxis and connections to the SRT Red Line. Rail is not automatically the simplest option with several suitcases or a late-night arrival.
For taxis, use the official airport arrangements and understand the meter, airport charges and tolls before setting off. For Grab Thailand, follow the app’s designated pickup instructions and check the driver and vehicle. Save your accommodation address in Thai as well as English. Don’t plan around a guaranteed journey time: traffic and weather can change it substantially.

Airport transport illustration — not a photograph of an actual service or station.
Set up a SIM or eSIM
A working phone makes transport, maps and accommodation check-in much easier. Compare an AIS tourist plan with True’s current tourist SIM terms through official shops or authorised outlets.
Expect identity verification and have your passport available. Check that your phone is unlocked and supports the chosen eSIM or physical SIM. Ask about data allowance, validity, local calls, renewal and activation before paying.
Get baht and settle into your accommodation
Carry enough Thai baht for immediate expenses without carrying your whole moving budget. Before accepting an ATM withdrawal, review its displayed charge and your home bank’s overseas fees. If offered currency conversion, compare the terms rather than automatically accepting it. Compare exchange rates and fees at reputable counters; no particular location guarantees the best deal.
At check-in, confirm the address, keys, security arrangements and how to contact reception or the host. Photograph existing damage if appropriate. Ask the accommodation operator about required address notification, including TM30 where applicable. Eat something familiar, drink water and rest: tired decisions are rarely good rental decisions.
Day 2 — Explore Your Neighbourhood
Build a small everyday-life map
Start with a short daylight walk. Find a supermarket, convenience store, pharmacy, laundry and a few food options. Locate the nearest BTS or MRT station and walk the actual route: crossings, heat, stairs and shelter matter as much as distance.
Use our Bangkok neighbourhood guides and city comparison to compare the lifestyle you want with practical daily travel.
Install useful apps and find healthcare
Google Maps helps with routes and saved places; Grab helps with transport and deliveries. LINE is widely used for everyday communication, while LINE MAN can be useful for food delivery where available. Install apps from official stores, check permissions and keep account verification secure.
Identify a nearby clinic or hospital before you need one. Keep your insurer’s assistance details and ask about accepted insurance, direct billing and potential upfront payment. Our free Living Essentials directory links practical services to their sources; check opening hours and availability directly.

Residential neighbourhood illustration.
Day 3 — Start Organising Long-Term Living
Inspect rentals before committing
If you need a permanent home, arrange inspections rather than rushing to pay for an unseen condo. Check noise, water pressure, air conditioning, phone reception, building access and the journey to places you’ll visit regularly. Ask about flooding or drainage issues and inspect common facilities if they matter to you.
Read the written lease before transferring money. Confirm who you are paying, the deposit and advance rent, utility billing, inventory, repairs, early termination and deposit-return conditions. Applicable requirements depend on the contract and landlord; don’t treat a commonly quoted deposit as a universal rule. Use our rental price research and renting and buying as a foreigner guide to prepare questions.
Research banking, insurance and the first month
A Thai bank account may be useful, but opening one is not a guaranteed day-three task. Eligibility and documents vary by bank, branch, visa and circumstances. Contact the branch first; Bangkok Bank’s foreign-customer FAQs are one starting point, not an assurance of approval.
Review healthcare cover suitable for relocation, not just a holiday. Ask about residency eligibility, exclusions, waiting periods, pre-existing conditions and claims. Check any insurance requirements specific to your visa separately.
Build your first-month budget using our cost-of-living tools. Include temporary accommodation, upfront rental payments, transport, communication, insurance and a buffer. Use your own quotes where costs aren’t sourced. Then prioritise appointments and paperwork with real deadlines; our moving guides and Relocation Toolkit can support the wider plan.
Your First 72-Hour Checklist
Before departure
- Verify your current visa and entry conditions with official sources.
- Complete TDAC when applicable and save the confirmation.
- Prepare accommodation details, documents and medicine checks.
Day 1
- Check the permitted-until date on your entry record.
- Take an official or correctly identified airport transfer.
- Activate your phone service and access some Thai baht.
- Check in, confirm address notification arrangements and rest.
Day 2
- Find food shops, a pharmacy and your nearest transit station.
- Save useful places and install the apps you need.
- Locate healthcare and keep insurance assistance details handy.
Day 3
- Inspect suitable rentals and review all charges and lease terms.
- Ask your chosen bank about eligibility and required documents.
- Review insurance and make a realistic first-month budget.
Useful Official Resources
Bookmark these and check them again before travelling or applying:
- Thailand Digital Arrival Card — official free submission
- Thailand Immigration Bureau — entry and immigration information
- Thailand E-Visa — official visa application website
- Smartraveller — advice for Australians travelling to Thailand
- US Embassy Thailand — information for US citizens
- Grab Thailand — transport and service information
- AIS — official mobile provider website
- Suvarnabhumi Airport — official airport information
- Don Mueang Airport — official transport information
Ready to Make Thailand Home?
Ready to make Thailand home? Explore Key to Thailand's neighbourhood guides, living-cost tools and practical relocation resources to plan your move with confidence.
Explore moving guides · Compare Bangkok neighbourhoods · Build your living budget
General research and planning information, checked against the linked official guidance on 2 November 2026. Entry requirements, services and eligibility can change; verify the details for your own circumstances before acting.